This article explains how to install and run the Neeve Remote Access Agent app to access devices or networks with TCP/UDP connections. The TCP/UDP connections are used for connecting applications that run on your personal device, such as Niagara Workbench, to systems in the building or in the cloud such as our Cloud BMS offering.
Launch Remote Access Agent
Log in to the Remote Access Portal and go to your Profile page.
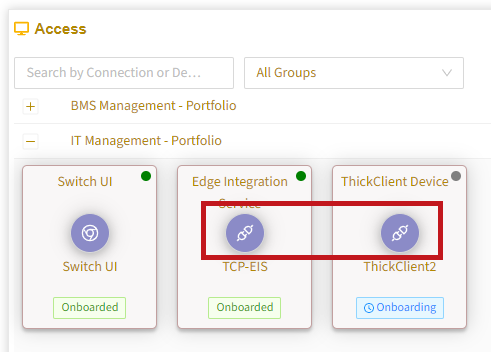
Under Access, expand your group(s) to see associated device connections. ThickClient devices have a plug icon on the connection tile:
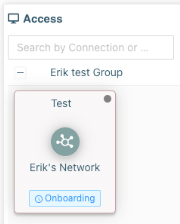
Networks show the network icon on the connection tile:
Select the desired connection. If Remote Access Agent (the remote agent) is not installed, you will be prompted to download it.
Download and install Remote Access Agent for your operating system. Note the Realm in the agent UI, which you will need in the next step.
If already installed, simply launch the application..png)
Launch Remote Access Agent and enter your user name (typically the email you use to log into the Remote Access portal) and the realm that you noted in the previous step.
.png)
Select Login and then enter your Remote Access credentials.
Wait a few moments for the agent to establish the connection. The agent status should show as Running. If you encounter a timeout, you may need to reauthenticate..png)
Once the agent status shows as Running, you can access the device via local applications.
Tip
Remember to quit Remote Access Agent when you finish your work. If not, it will continue running in the background and consume resources.
All assigned TCP/UDP connections will be available in Remote Access Agent. You can find your available connections in one of two ways, depending on how your environment is configured.
Either, you will have network-level access and see all available connections listed under the Apps tab in the agent UI:
.png)
Or, you will have single IP access. In this case, you must first go to the Settings tab and select the site to connect to (formatted as “site-network”), and then select Apps:
.png)
Connect to a device using the desktop application
When using your desktop application, you will connect based on one of the two scenarios mentioned in the last step above.
If your organization has configured network access, you can use the IP address of the target connection.
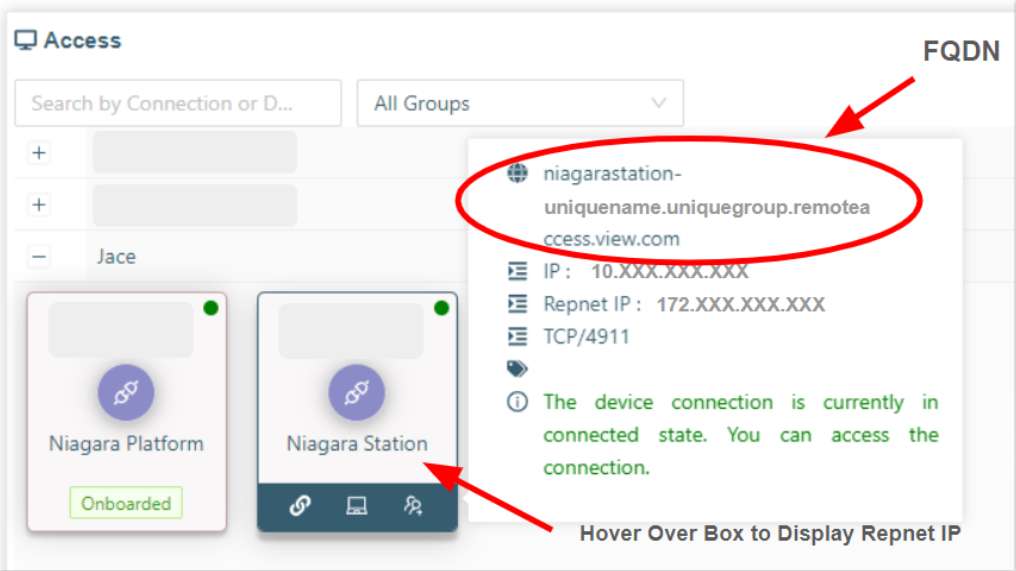
If your organization has configured single IP access, you can’t use the IP address of the target connection. Instead, you can connect via RepNet IP or Fully Qualified Domain Name (FQDN)—whichever is appropriate for your application. To see the RepNet IP and FQDN, hover over the connection tile in Remote Access, as shown in the example below. You can copy the information from the pop-up.
For support, contact your Remote Access administrator.
Get realm values
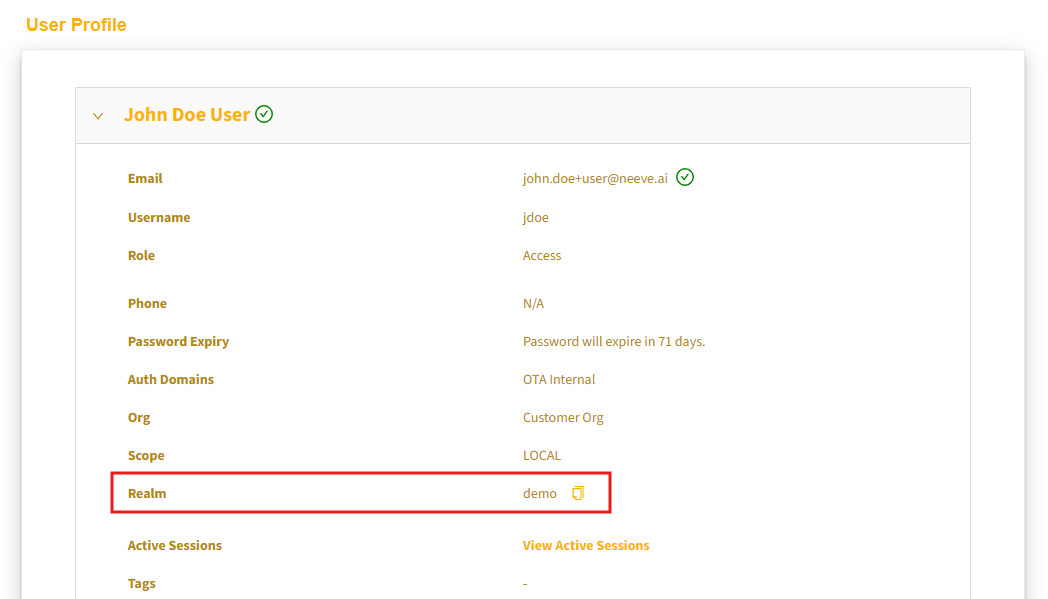
Realm values are used when logging into the Remote Agent application. To get your realm values:
From your profile: From your User Profile page, expand the panel next to your name to find and copy your realm.
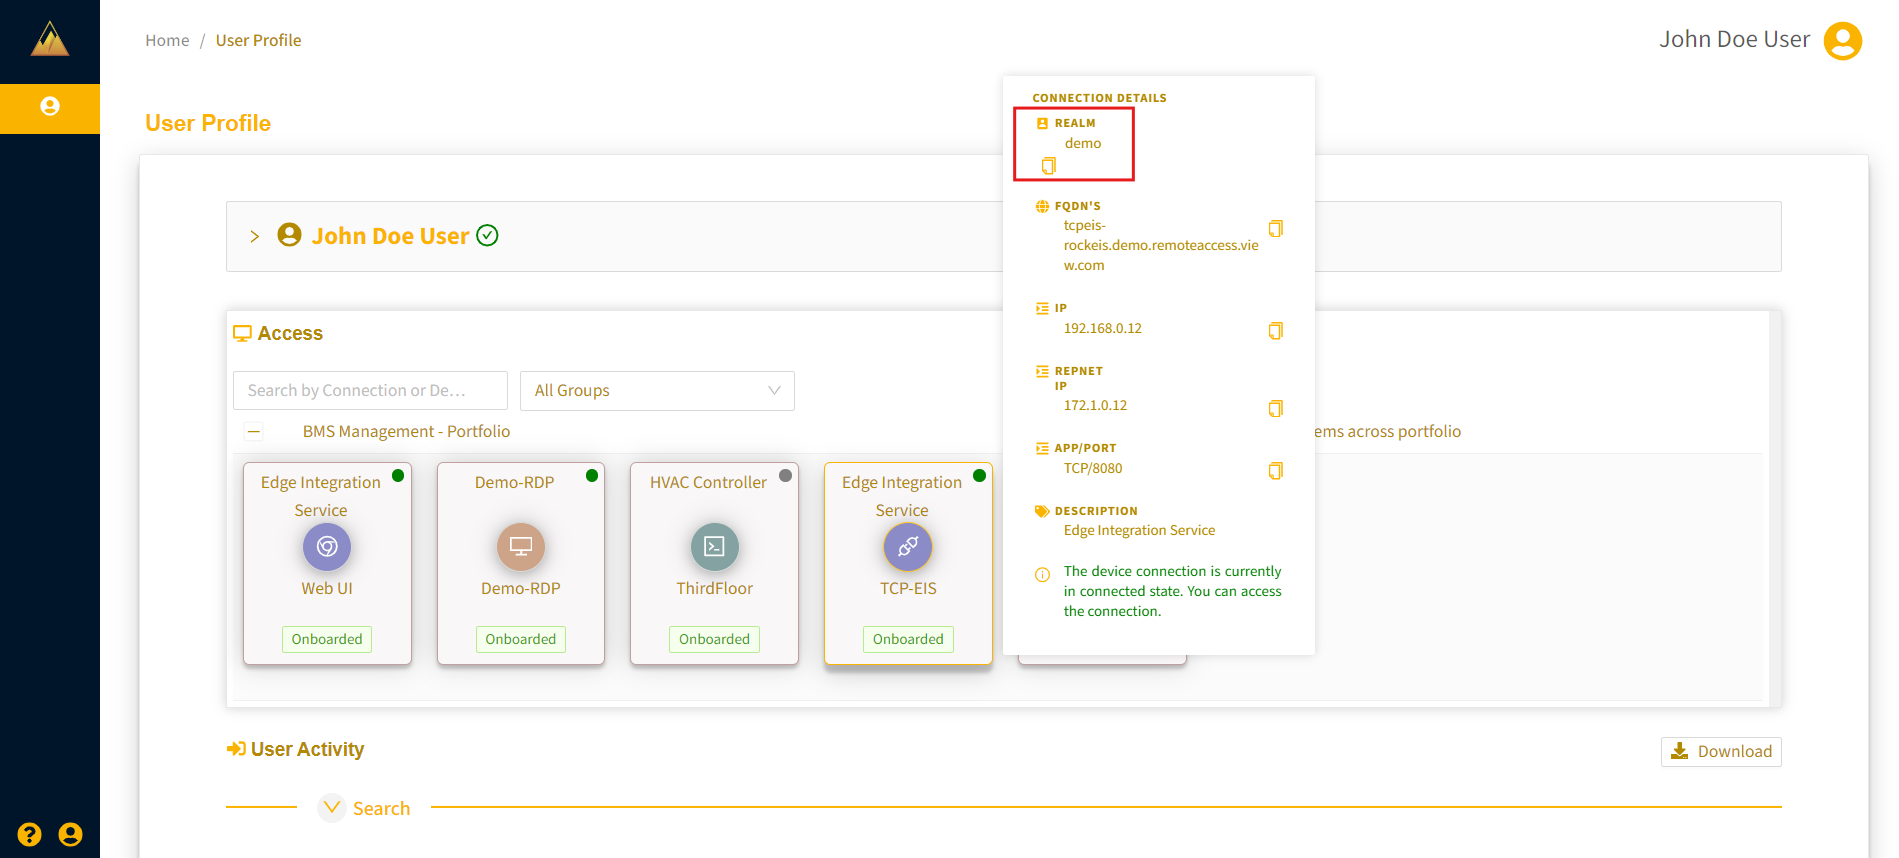
From a TCP connection: From your User Profile page, under Access, hover over a connection tile (TCP connection), and the realm will appear in the details pop-up.