This article explains how to add a new endpoint in Neeve. You can also use the Neeve Portal to scan your nodes and discover existing endpoints to connect to.
Add a new endpoint
To add a new endpoint:
- Log in to Neeve and select Manage (gear icon) > Endpoints.
.png)
- On the Endpoints page, select + Add.
- In the Add Endpoint dialog, enter the required identifying information for the endpoint, including name, description, site, system type, and IP address. The host name will autopopulate.
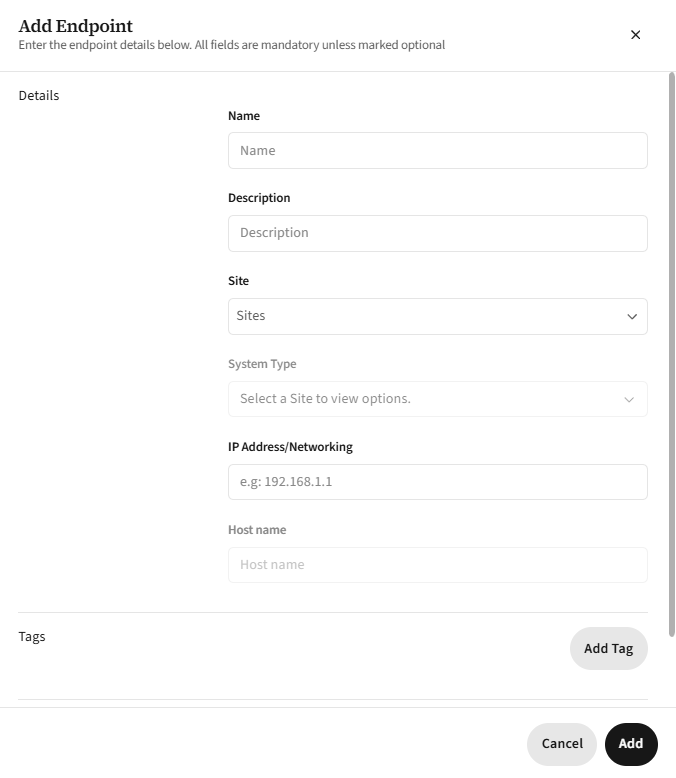
- Add any tags, and then select Add Connections to open the Add Endpoint Connections dialog.
- Select the access application type from the Type dropdown list. Connection types include SSH, RDP, VNC, HTTP, and HTTPS.
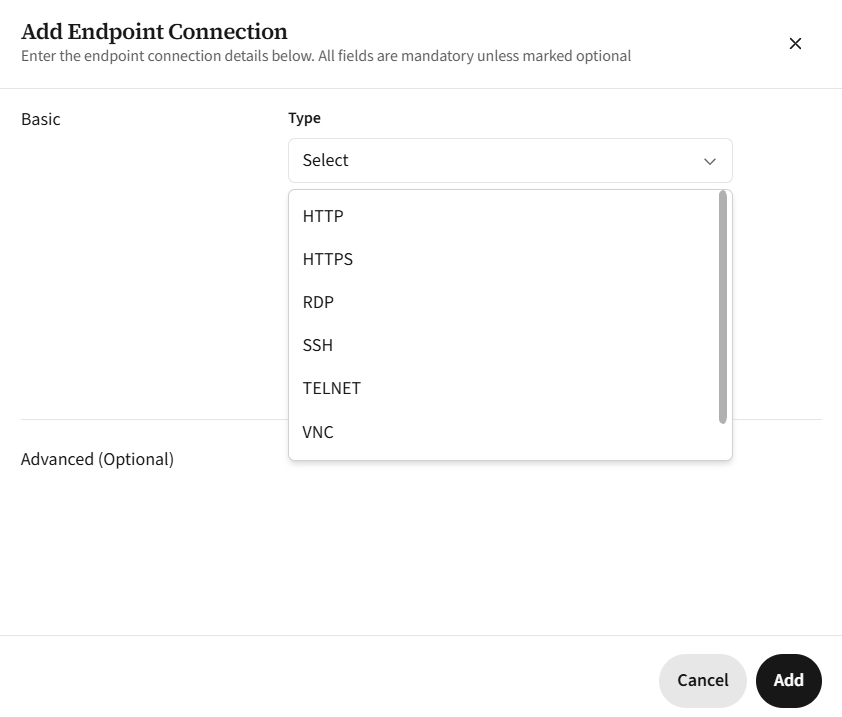
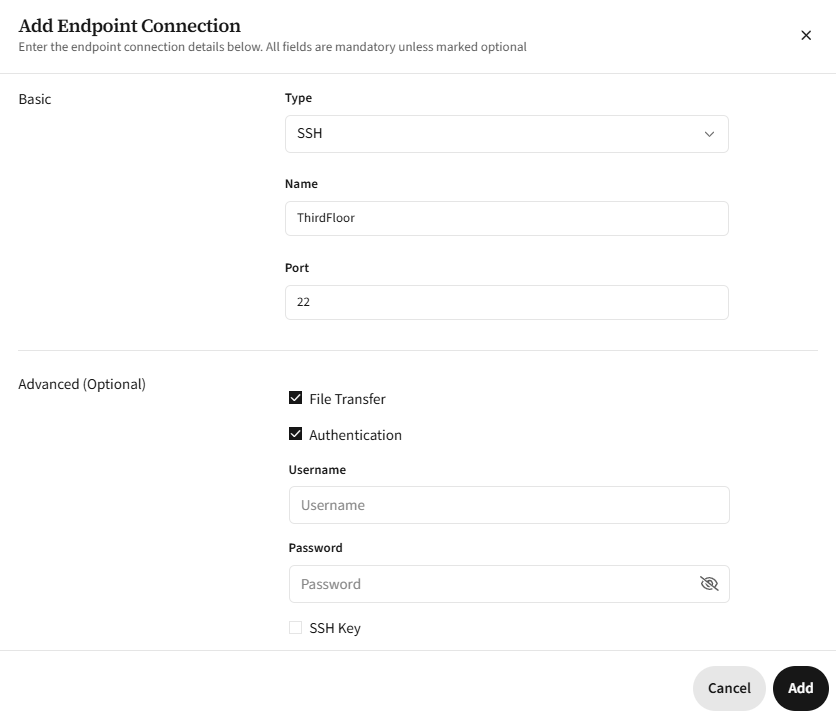
- Enter a name for the connection and set the port (valid range: 1-65535)
- If you use RDP, Wallpaper is disabled by default. Wallpaper provides a default background for the connected device login. To enable a default background for the login, toggle this feature to Enabled.
- If you use SSH or RDP, File Transfer is disabled by default. To enable clipboard use and file transfer, toggle this feature to Enabled. (For more information, see Using file or text transfer.)
- If you use SSH, RDP, or VNC, Authentication is disabled by default. To store the connection's credentials, toggle this feature to Enabled. Then add a user name and password (or upload an SSH key if applicable).
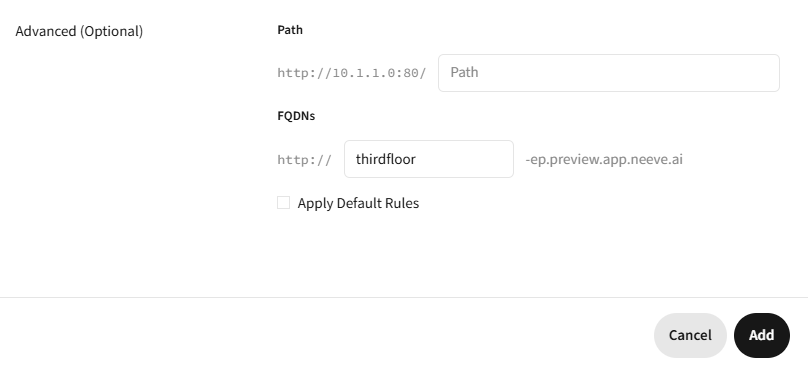
- If you are adding an HTTP or HTTPS type connection, in the Advanced section, supply the connection's URI path and the subdomain (part of your Fully Qualified Domain Name).
- Select Add to add the connection(s).
After you’ve added an endpoint, it appears on the Endpoints page. Select the arrow icon (>) in any endpoint row to view its details, including the endpoint's full name, IP address, tags, and connections.
Permissions to endpoints are granted at the user level. To give a user access to an endpoint, edit their user profile and add a new set of permissions, as explained in Adding and modifying users.
Discover endpoints
Use these steps to scan your nodes for existing endpoints to connect to:
In the Neeve Portal, select Manage (gear icon) > Endpoints, and then select Discover Endpoints from the top right.
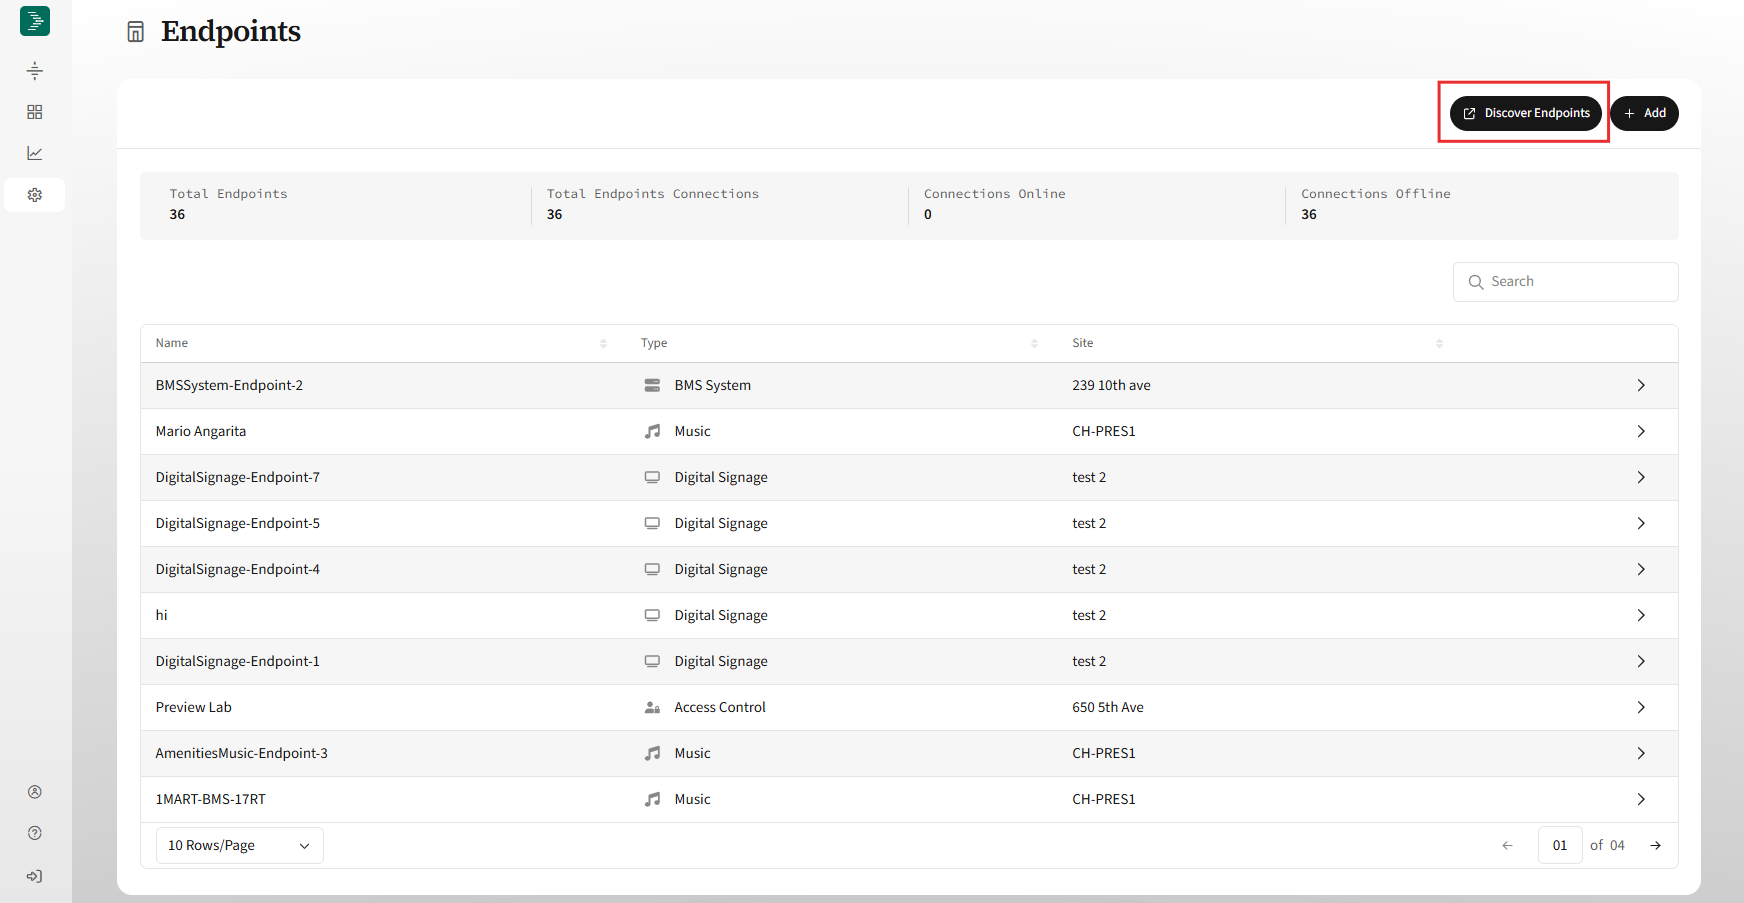
In the Discover Endpoints dialog, select the node you want to scan and then select Next.
Once the scan is completed, you will see a list of endpoints available for onboarding. Select the checkbox for each endpoint you want to create connections for, and then select Next.
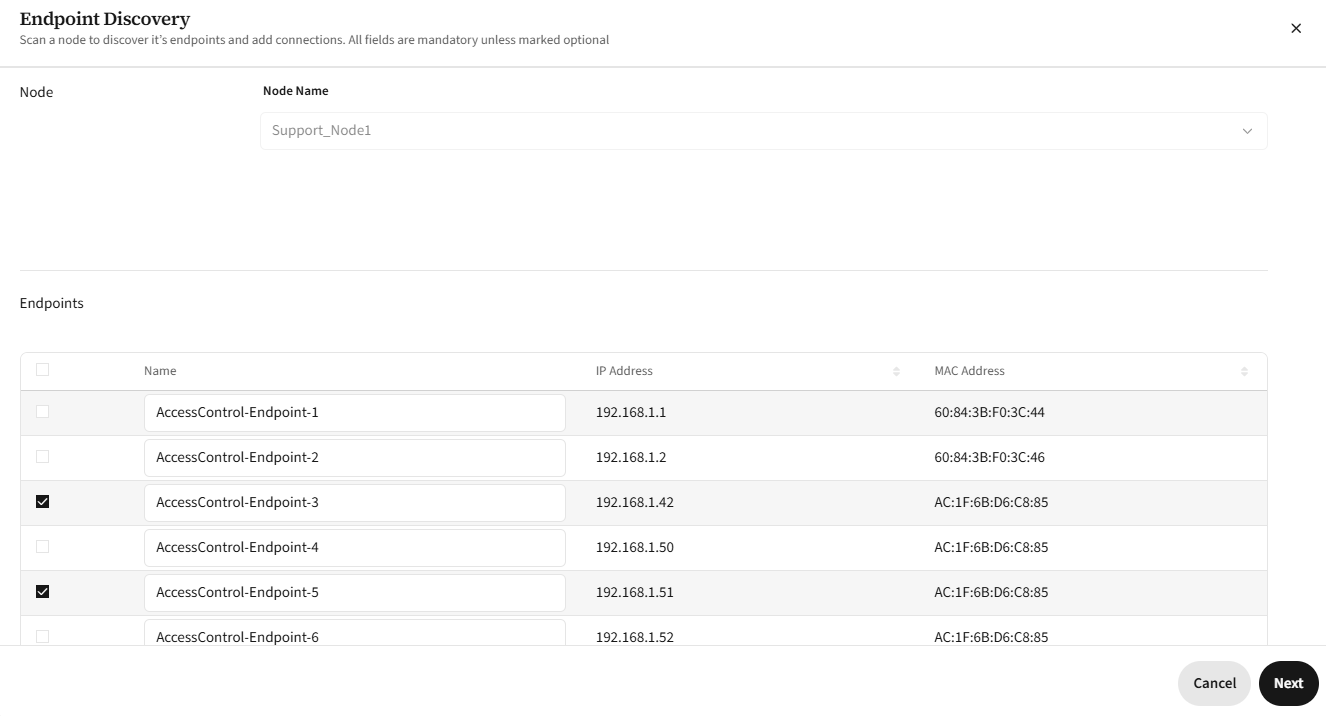
4. Follow the steps in the previous section to add new connections to the selected endpoints.