This article explains how to apply and remove custom branding to the Remote Access Portal for your organization. Before you start, make sure to review the recommendations for each component you want to customize, as outlined in Customized branding components.
Apply custom branding
Use the following steps to specify your branding preferences. Skip the steps for any components you don’t want to customize.
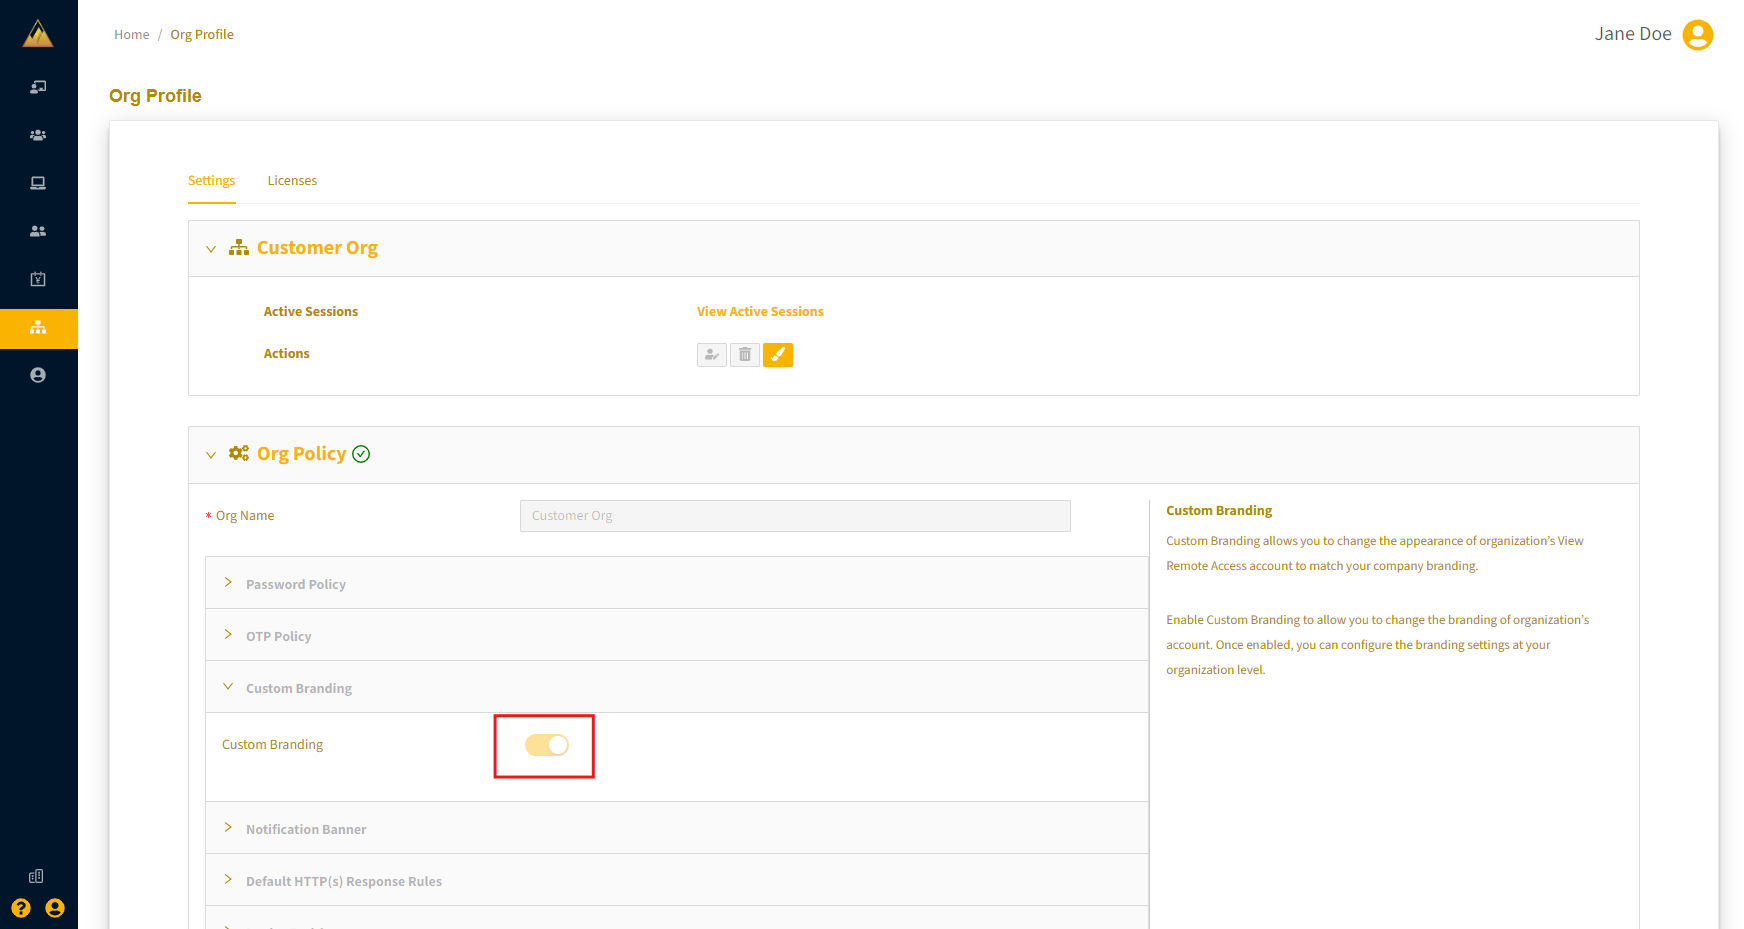
- From the Remote Access Portal left menu, select Org Profile and expand the Org Policy section.
- Enable the Custom Branding toggle to open the Customize Branding page. (You can also access this page from the paint brush icon in the Actions menu.)
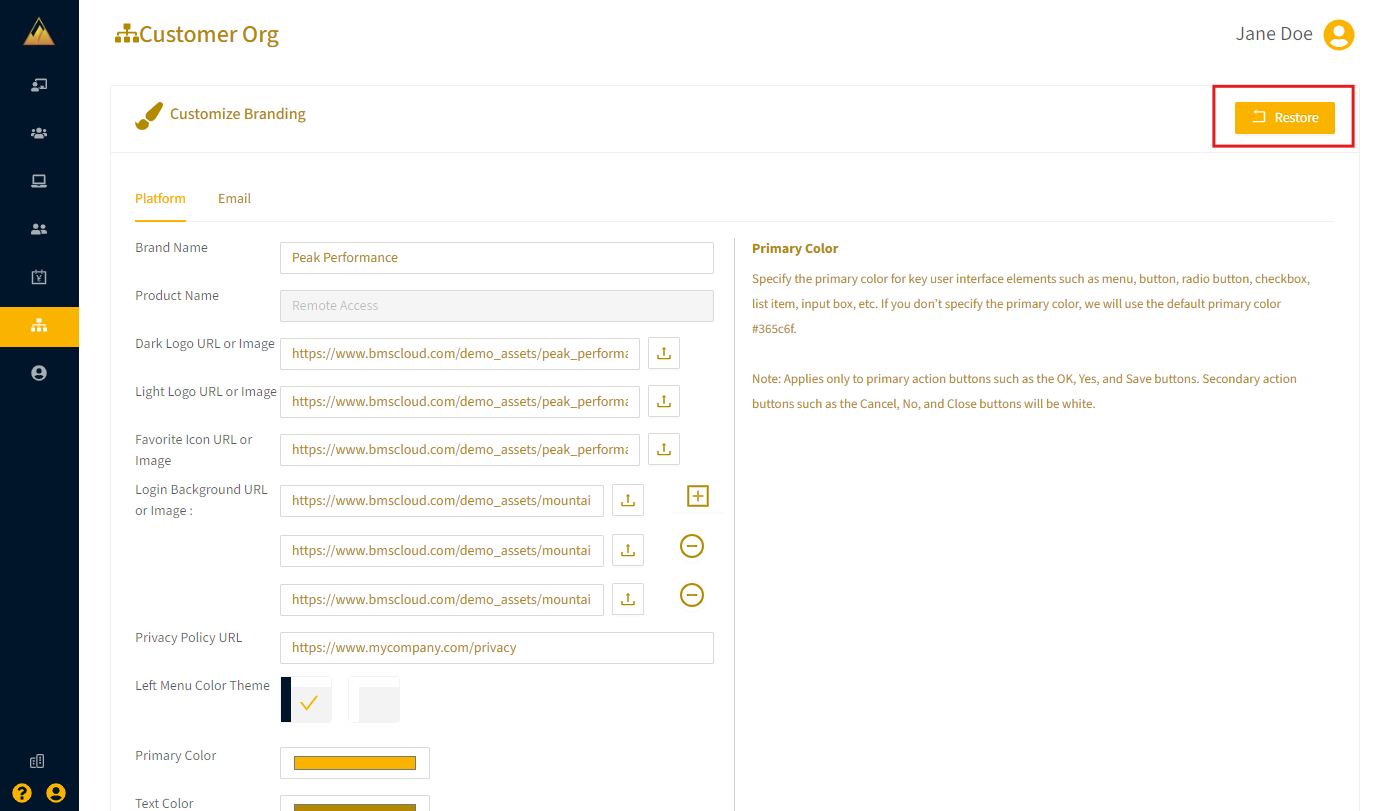
- On the Customize Branding page, enter the following:
- URLs for your logo image files (Dark Logo URL and Light Logo URL)
- A favorite logo for a collapsed menu (Favorite Icon URL)
- A background image for the login page (Login Background URL)
When you select a text-entry field, Help content appears with the image format requirements and best practice tips.
Examples:
- Dark Logo URL
.png)
- Light Logo URL

- Favorite Logo URL

- Login Background URL

- Privacy Policy URL
The privacy policy you specify is accessed through the Remote Access login page cookie banner via the Learn More option.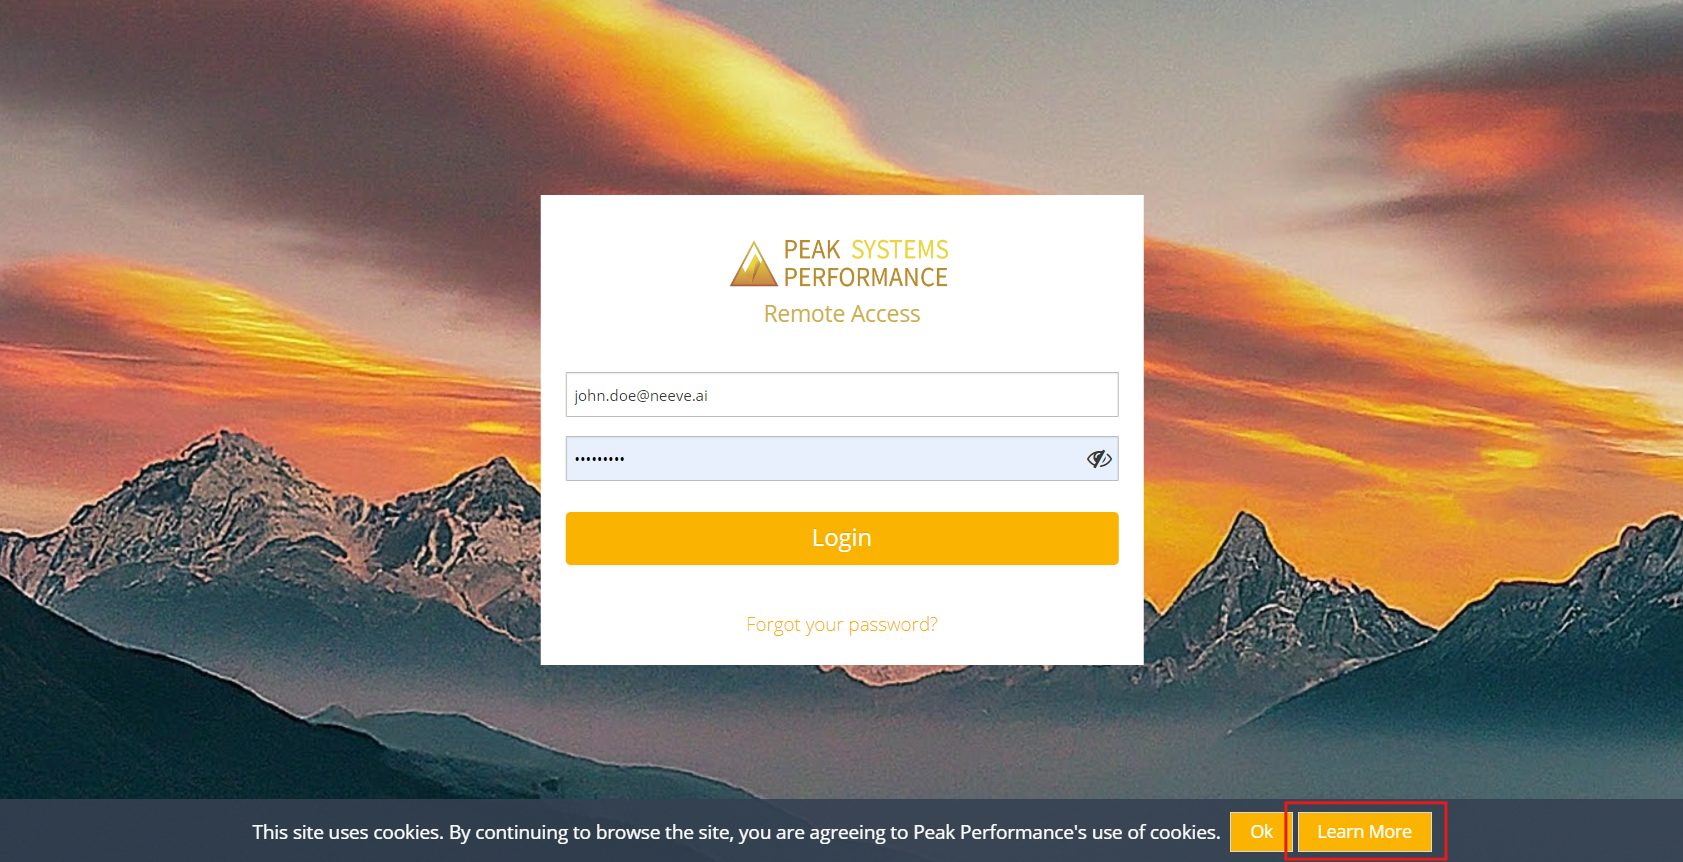
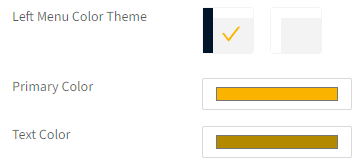
- Select colors for the Left Menu Color (dark or light theme), and Primary Color and Text Color (use the color selector or set the RGB values).
- Select Save to apply your custom branding configuration.
Remove custom branding
To remove custom branding, follow these steps:
- On the Customize Branding page, select Restore.
 A confirmation prompt appears.
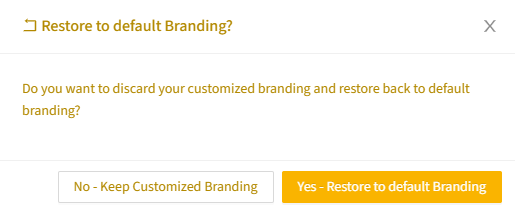
- Select Yes - Restore to default branding to confirm your choice.