Before getting started using the Secure Edge Portal REST API, make sure that you:
- Know the basics, including:
- RESTful web services: http://en.wikipedia.org/wiki/Representational_state_transfer#Applied_to_web_services
- JSON: http://en.wikipedia.org/wiki/JSON
- Sign up for the Developer Program to get API access to Secure Edge Portal. Contact your Account Manager for more information.
This section tells how to get started with the REST APIs, including:
- Creating and saving keys for authentication
- Accessing Secure Edge Portal APIs
- Making your first API call
Creating and Saving API Keys for Authentication
API keys are credentials linked to your Secure Edge Portal account. They authenticate and authorize access to the APIs with the same permissions as your Secure Edge Portal account.
Getting an API key for use in authenticating REST API usage requires:
- Using the Secure Edge Portal to create the key
- Saving the key for use by copying or downloading it
You can add up to three keys per account. Note that:
- API keys have the same permissions as your user account
- Expiration of your password doesn’t affect your API keys
- If the role of the user changes or the permissions associated with the user’s role change, it doesn’t affect API keys that have already been created. Any new API keys the user creates have the new permissions associated with the role.
- When a user is deleted, any API keys that he or she created are also deleted and the API key can’t be used to make API calls
Follow these steps to create and securely save an API key:
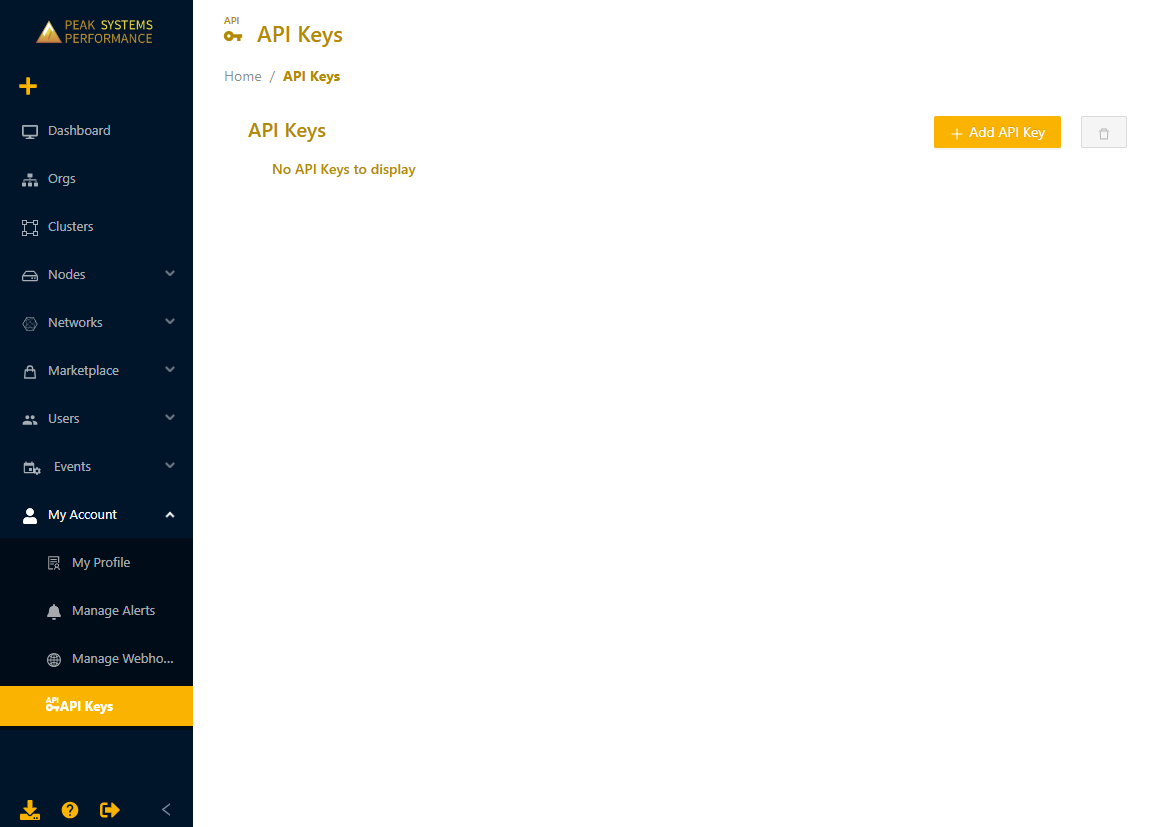
- On the bottom of the Secure Edge Portal left menu, select My Account > API Keys to display the API Keys page.
- On the API Keys page select Add API Key.
- In the Add API Key dialog box, enter a key name, which is used only to identify the key.
- By default, the API key expires in 90 days. You can specify a different expiry period in minutes, hours, or days. The maximum is 365 days. Although it’s possible to toggle the Expires in field to Never, we recommend that you never create an API key that doesn’t expire.
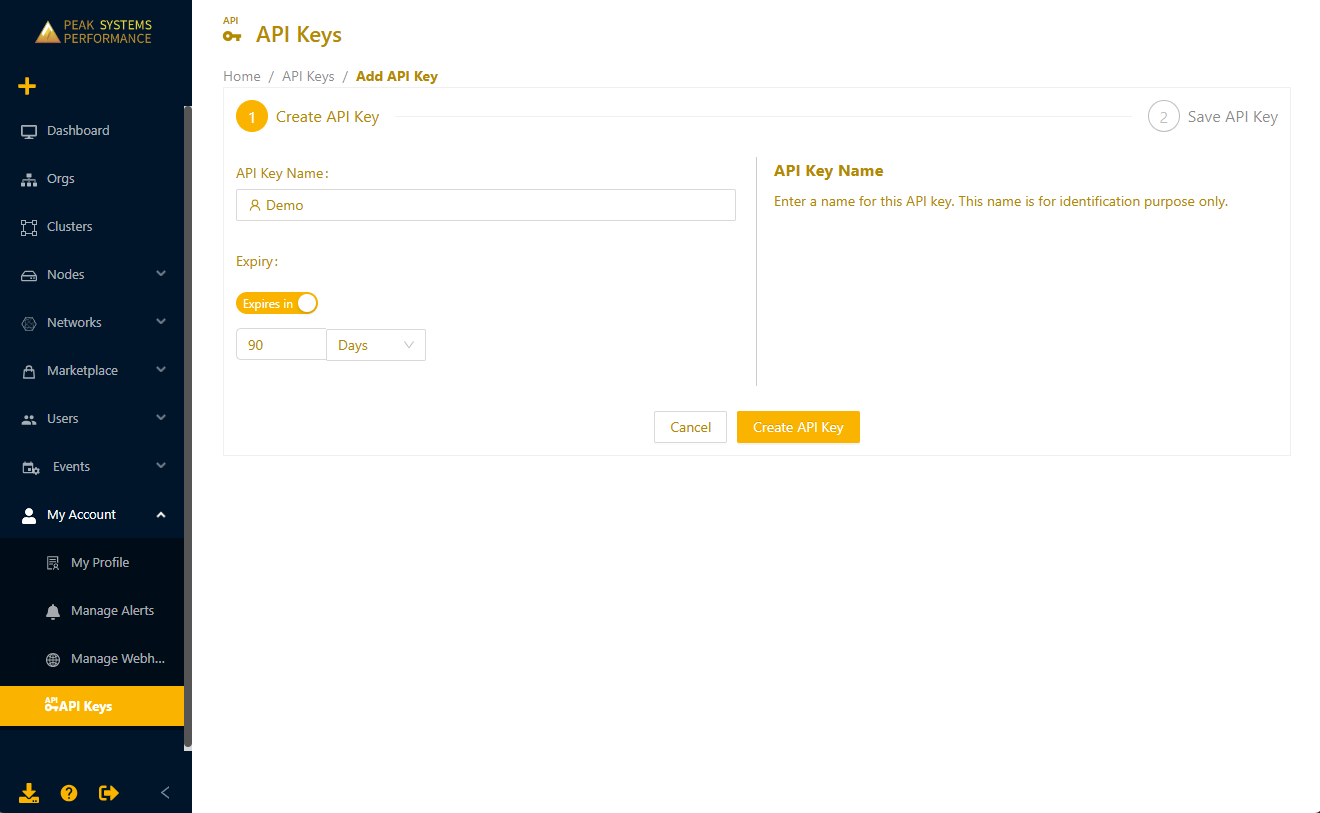
- Select Create API Key to create the key.
- Next, save the access key into a secure location. Copy or download the key to save it. After you leave this screen, you’ll no longer be able to view, copy, download, or recover the key.
- To copy the key, select the copy icon next to the key.
- To download the key as a file, select Download.

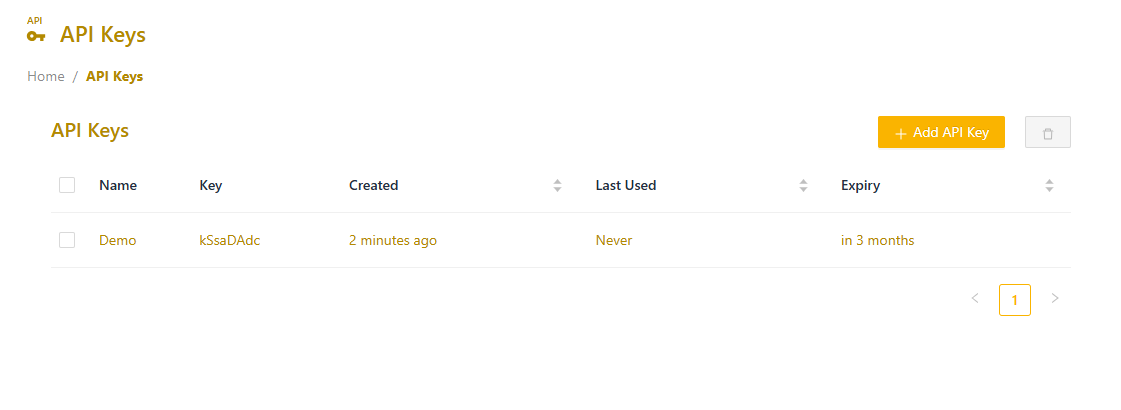
The API key you created shows on the API Keys page.
Accessing Secure Edge Portal APIs
All API access is over HTTPS. HTTP requests are redirected to HTTPS. You need to access the APIs using your account-specific domain: <yourcompany>.secureedge.view.com
API keys are used to authenticate API requests from your account. You’ll need to provide a key in each API request you make to the Secure Edge Portal.
Making Your First API Call
Log into your Secure Edge Portal account to use the REST API documentation, available at https://<your_company>.secureedge.view.com/apidoc
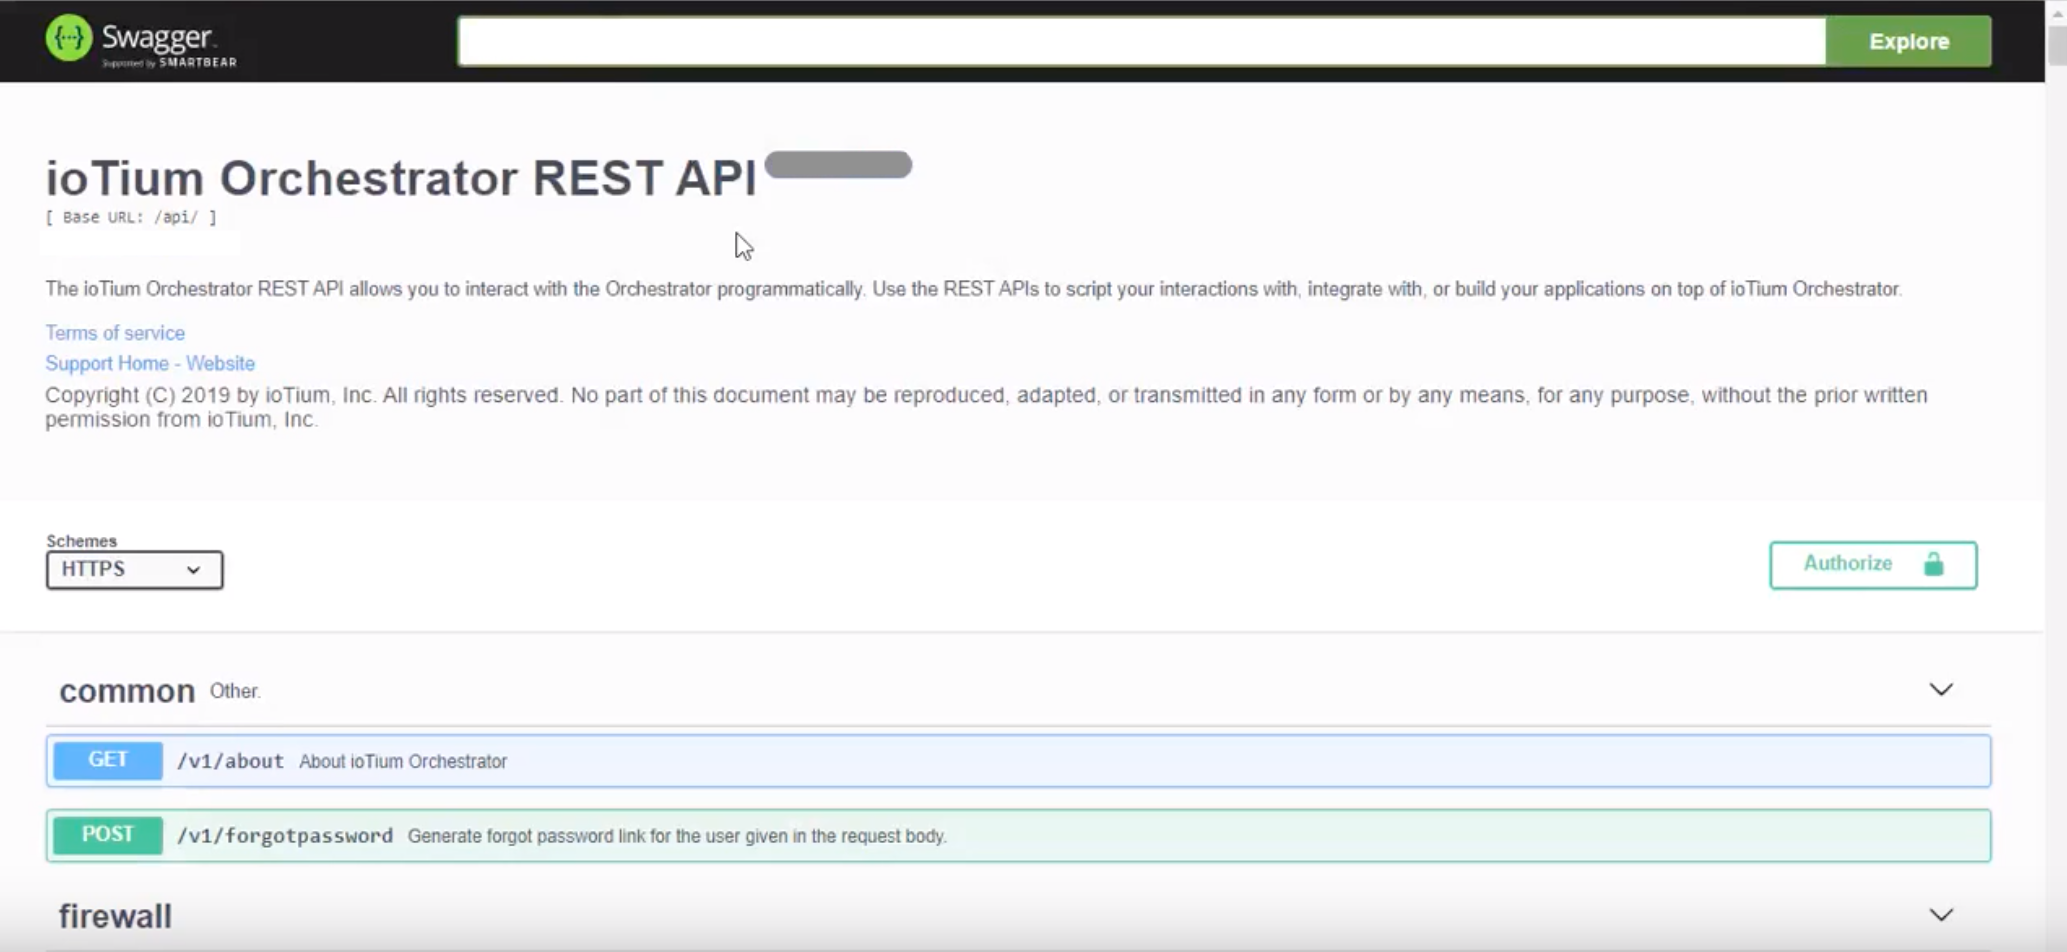
To try out an API call, you’ll need the API key you created in Creating and Saving API Keys for Authentication. In the example, we use the GET request to the user endpoint with the path v1/user/current to get logged-in user information.
To try out a call, follow these steps:
- Log into your Secure Edge Portal account.
- Go to https://<your_company>.secureedge.view.com/apidoc.
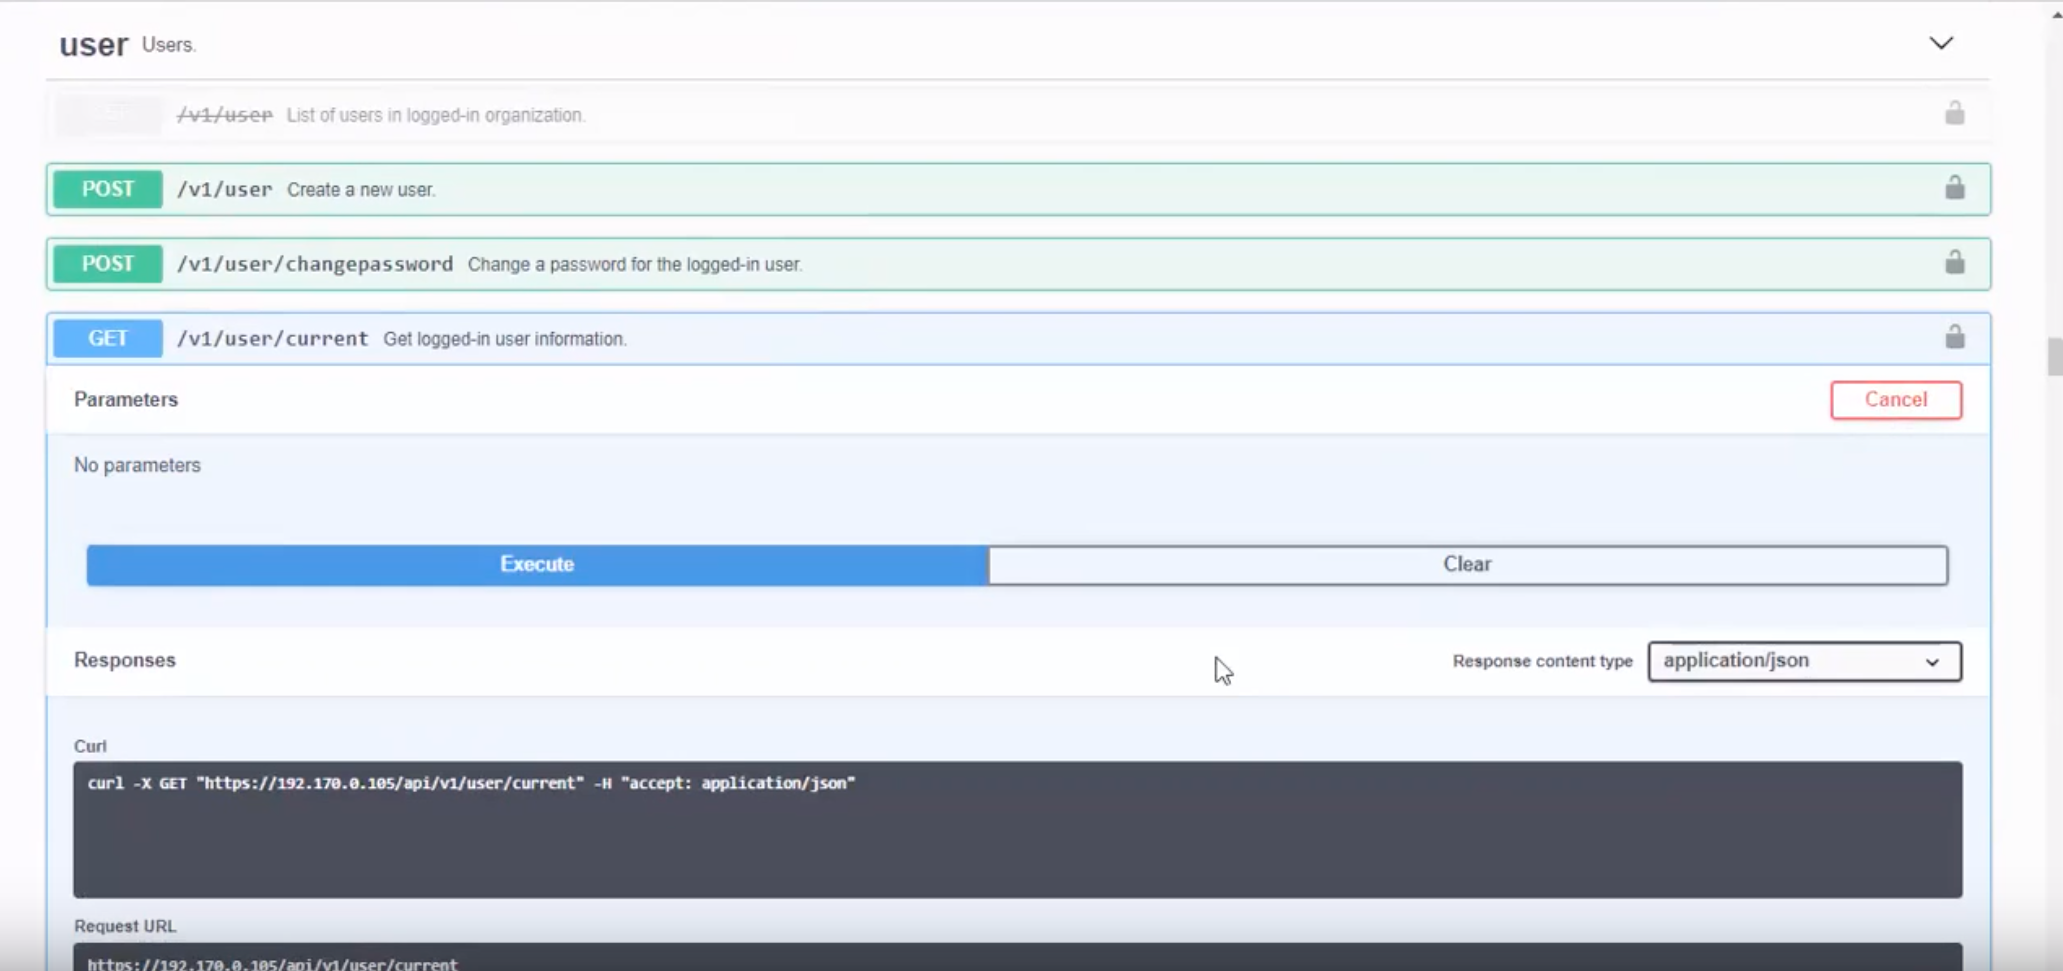
- Scroll through the list of APIs to find user.

- Find the endpoint path /v1/user/current to get logged-in user information. Select it to expand for details about parameters (in this example, there are none) and response codes.
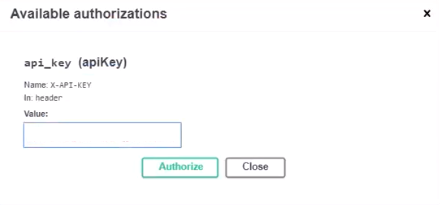
- To authorize use, select the lock icon to the right to display the Available authorizations dialog. Paste the API key you created in Creating and Saving API Keys for Authentication into the Value field. Select Authorize then Close the dialog.
- Now select Try it out.
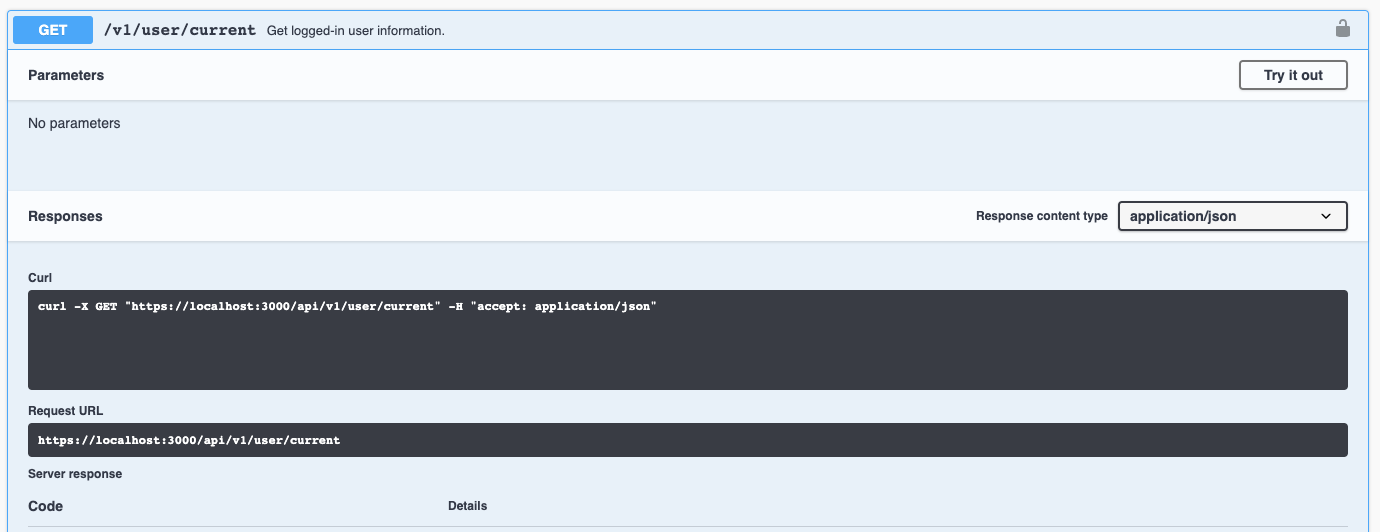
- Select Execute.
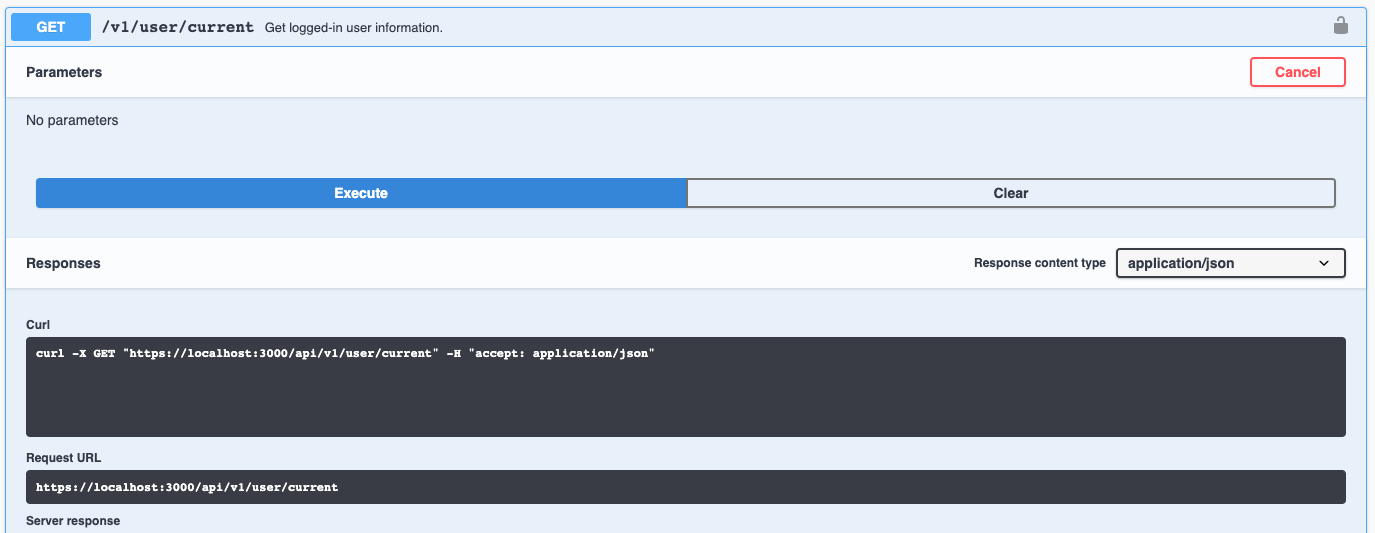
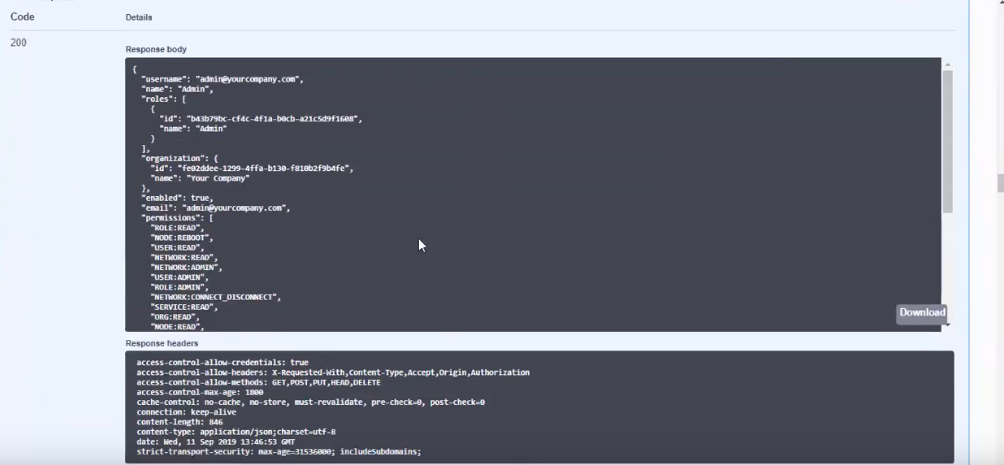
- The API response displays with the 200 code, indicating success, and the Response body displays details of the user account including user name, full name, name and ID of the user role, name and ID of the organization, user permissions, and more.